How to Back Up and Organize Your Retro Game Collection
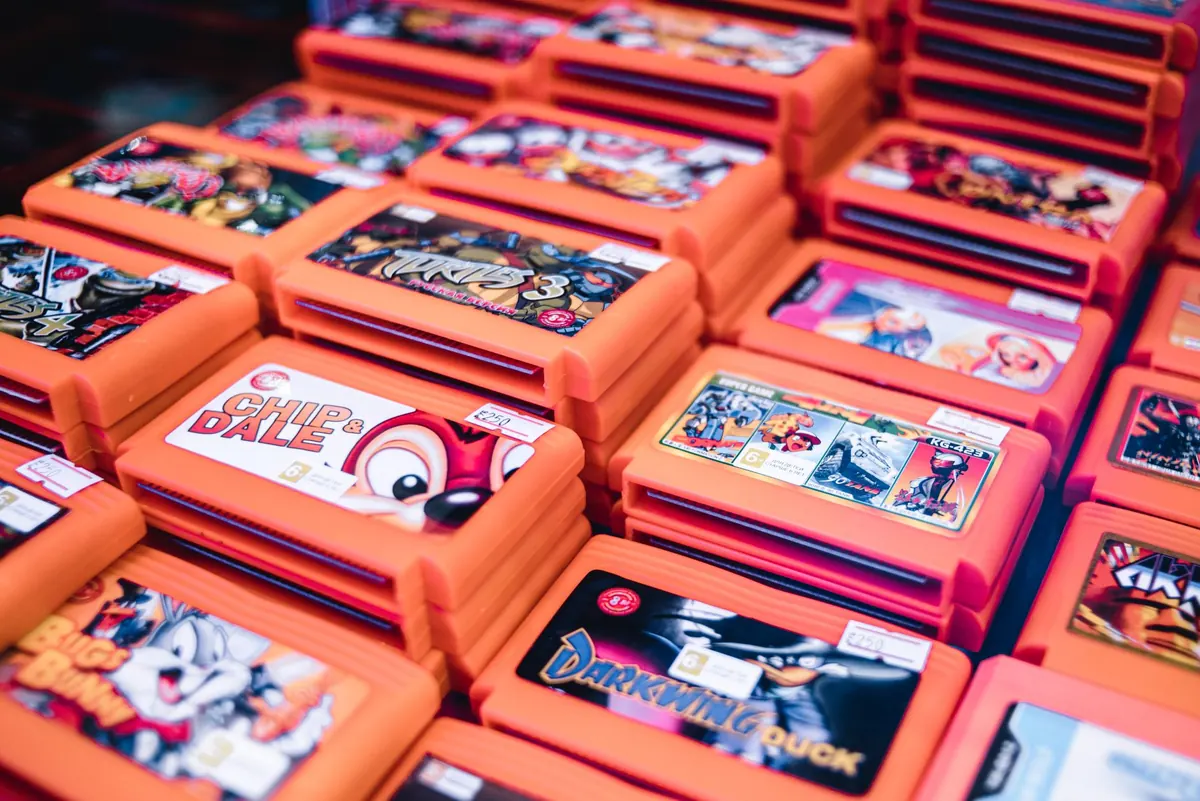
There's a specific kind of dread in plugging in a cartridge you haven't touched since 2003 and getting a blank screen. Batteries die. Discs get scratched. Labels fade in the sun. Somewhere in a closet, a memory card holds the only copy of a hundred-hour save.
Sorting out a retro collection isn't one job — it's three overlapping ones: cataloging what you own, copying the data that's still readable, and storing the physical media so it lasts. Do them in that order and the whole project takes a few weekends instead of a year.
Start With a Catalog You'll Actually Maintain
A spreadsheet is enough. Dedicated apps such as CLZ Games, Gameye or Retro Game Collector can scan barcodes and pull cover art, which is faster for a big collection, but a plain sheet with the right columns beats an app you stop updating after a month. Work one console at a time and stop at around thirty items per sitting — marathon cataloging sessions are how projects die.
Columns that earn their place:
- Title, platform, region (NTSC, PAL, NTSC-J) and the publisher's serial number from the label or spine
- Condition, plus what's included: loose cart, box, manual, inserts, registration card
- Physical location — "Bin A3, left side" beats "in the closet" every time
- Purchase date and what you paid, for insurance and for your own memory
- Notes: dead save battery, disc two is scratched, repro cart suspected
Photograph each item's label and box. Ten seconds with a phone camera gives you a record of condition, and it's surprisingly useful when you're standing in a shop trying to remember whether you already own a copy. Keep the file in the cloud and on your own drive; a catalog that lives only on one laptop is not a catalog. If the collection is valuable enough that you'd want it replaced after a fire, a quick call to your home or renter's insurance provider is worth it — how collectibles are covered varies, so get that answer from them, not from a forum post.
Rescue Save Files Before You Touch Anything Else
Cartridge saves on NES, SNES, Game Boy, Game Boy Advance, Genesis and N64 games live on a coin cell that was never meant to last this long. When it goes, the save goes with it. Replacements are cheap, but you want the old data out first.
Options, roughly in order of effort:
- Cartridge dumpers and save extractors. Devices like the Retrode, GB Operator and Joey Jr read both the ROM and the save file straight to a PC. Do this before desoldering anything.
- Softmodded consoles. A modified Wii, GameCube, PlayStation 2 or PSP can copy memory card data to an SD card or USB drive. For PS1 and PS2 memory cards, this is usually the cleanest path.
- Flash carts and backup units. Many flash carts ship with save-management tools that read a cart's battery save onto removable storage.
- Memory card adapters. Third-party readers exist for PS1, PS2, Dreamcast VMU and GameCube cards, and most present the data as ordinary files.
Once the save is off the cartridge, swapping the battery is a five-minute job with a soldering iron and a tabbed CR2032 — buy the tabbed version, not a bare cell, and mind the polarity. Do it on a scrap cart first if you've never soldered. N64 Controller Paks and VMUs have their own small cells, and losing a Mario Kart ghost or a Chao is exactly as annoying as it sounds.
Copy the Games Themselves
Ripping your own discs matters more than people expect. CD and DVD media from the late nineties and 2000s is hitting the age where disc rot, delamination and scratches start to bite, and a verified file on two drives will outlive the original.
Use a known-good optical drive that can read the format — GameCube and Wii discs need a softmodded console or a compatible drive. Compare your rip's checksum against the Redump database for that title; a match confirms the disc was read correctly and didn't have a silent error. Store disc images as .bin/.cue, .iso or compressed .chd, and keep cartridge dumps with No-Intro naming so frontends can identify them automatically.
A word on the rules: in many countries, making a personal backup of media you own is treated differently from downloading a copy of something you don't. That distinction is yours to check against local law, and keeping backups private rather than sharing them is the sensible default.
Organize the Files So Future You Can Find Them
Structure beats cleverness. One folder per system, alphabetical subfolders, consistent naming, and — this part matters — saves stored separately from ROMs. Emulator updates, re-scrapes and sync tools will happily overwrite your save directory if it lives inside the ROM tree.
A layout that works:
- Games/Nintendo Entertainment System/A/Super Mario Bros. (USA).nes — though plain text folder names with no special characters travel better across operating systems
- Saves/Nintendo Entertainment System/Super Mario Bros. (USA).srm
- Metadata/ for the catalog export, checksum files and box art
Follow the 3-2-1 idea: three copies, on two kinds of media, one of them somewhere else. In practice that's an external drive, a second drive kept at a relative's house or in cloud storage, and the originals. Write checksum files (MD5 or SHA-1) alongside each system folder and re-run them once a year; it's the only cheap way to catch a drive quietly corrupting data. Don't trust a single 2011 external drive, and don't assume an SSD left unpowered in a drawer is safer than a spinning disk — it isn't.
Use Emulation as a Working Backup
RetroArch, standalone emulators and frontends like LaunchBox or EmulationStation turn a folder of files into something you can actually verify. Load a handful of titles per system once or twice a year: if Chrono Trigger boots and your save loads, the backup is alive. If it doesn't, you find out now rather than the day your cartridge finally gives up.
Save states are convenient but fragile — they're tied to a specific emulator core version and can break after an update. Battery saves (.srm, .sav) are the durable format, so make sure your emulator is writing those to your separate Saves folder. If you want saves on every device, point Syncthing or Nextcloud at that folder and let it do the work.
Store the Physical Stuff Properly
Most retro damage isn't caused by use. It's caused by attics, garages and sunlight.
- Keep everything in a room with stable temperature and moderate humidity. A finished closet beats a basement every time.
- Shelve discs upright on edge. Stacks and leaning piles warp them.
- Skip PVC sleeves and binder pages — they off-gas and can haze discs and labels over years. Use polyethylene sleeves or acid-free paper.
- Keep boxes out of direct sun, don't tape them shut, and store heavy cartridges so they aren't pressing on cardboard.
- Pull AA and AAA batteries out of consoles and controllers before long storage. Leaking alkalines ruin far more hardware than play does.
- Drop a few silica gel packs in each bin and replace them every few months.
- Clean cartridge contacts with isopropyl alcohol and a cotton swab — never sandpaper, and never the "blow on it" trick, which adds moisture and corrosion.
A Routine That Takes an Afternoon a Year
Pick a date, put on a playlist, and run the same short loop: power on one console, spot-check a few games per system, confirm your saves still load, re-run your checksums, replace the silica packs, and update the catalog with anything new. Note whatever you couldn't test so it doesn't get forgotten.
Then do the one thing people skip: make sure someone else knows where the backups live. Stored files with no map to them are just expensive clutter.